To upgrade your standard 3D printed or MDF buildings for war gaming, you can add some nice variety on the outsides and insides. A really common way is to add some 3D printed exterior like AC, satellite dishes, water storage or solar boiler. This adds some cover and obstacles on the roofs and gives your table a more realistic look.
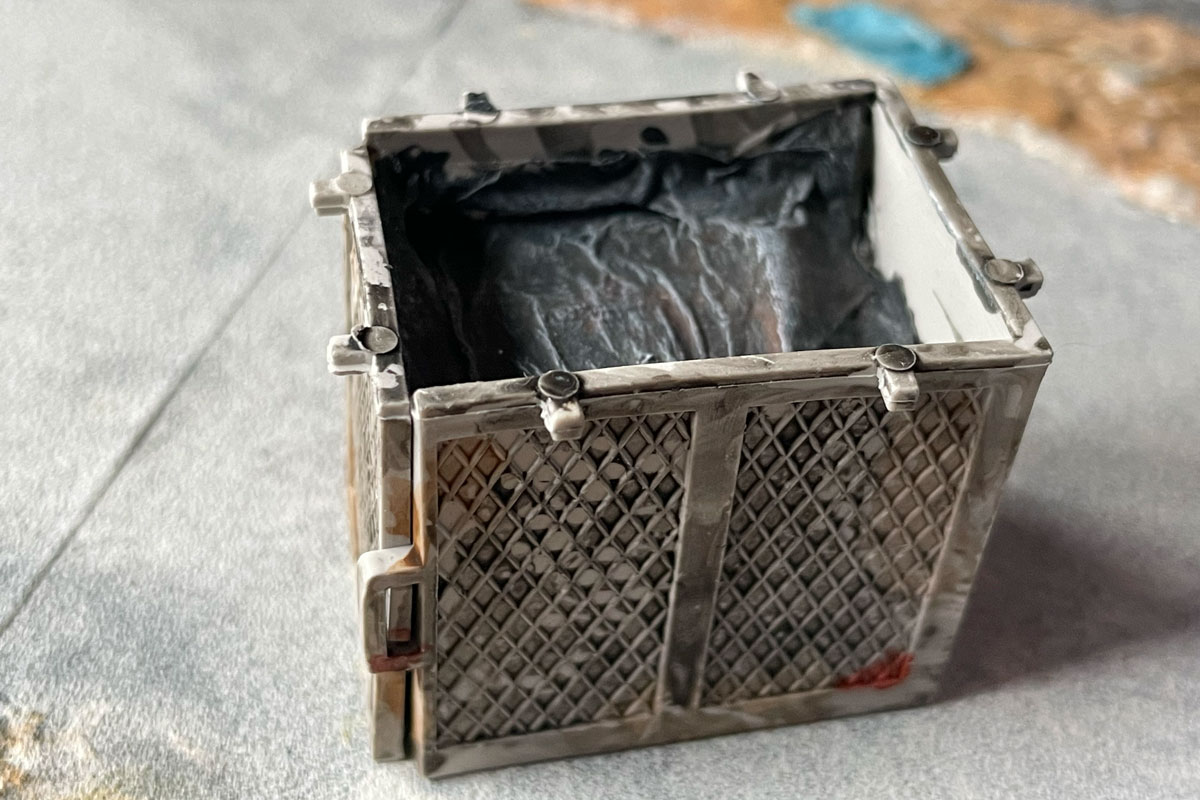
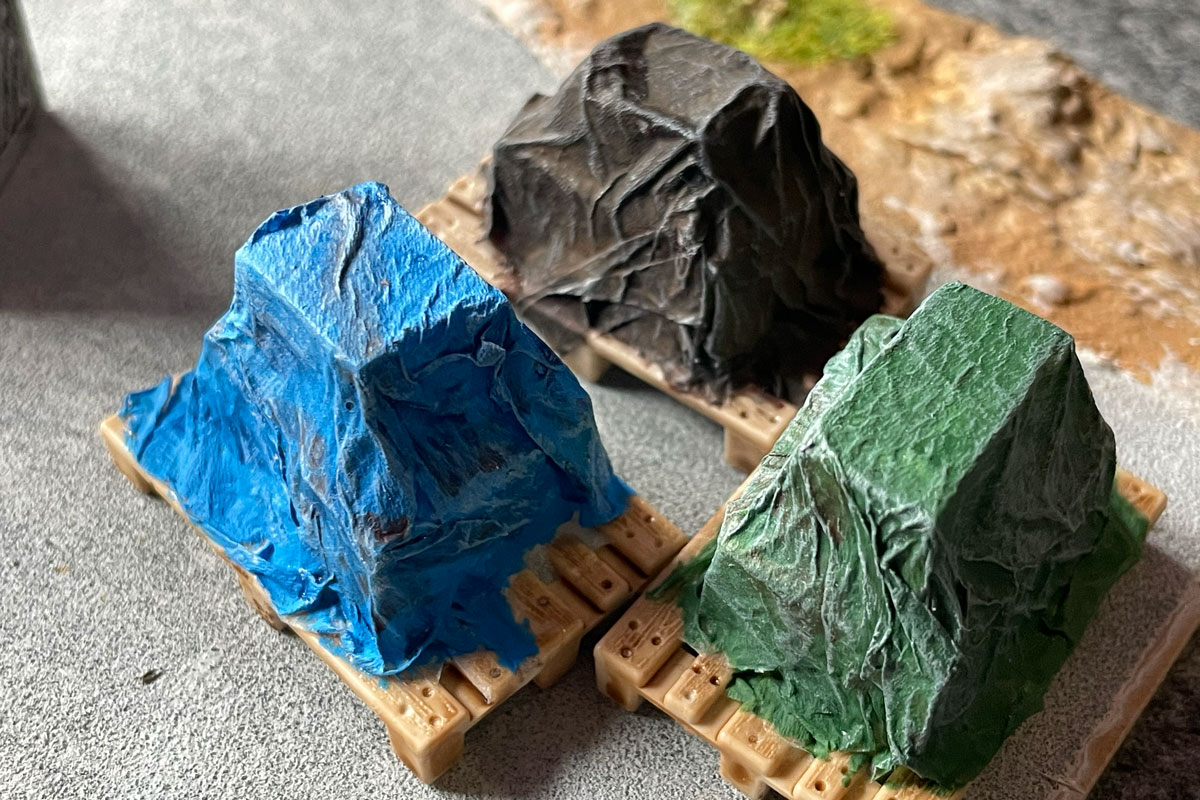
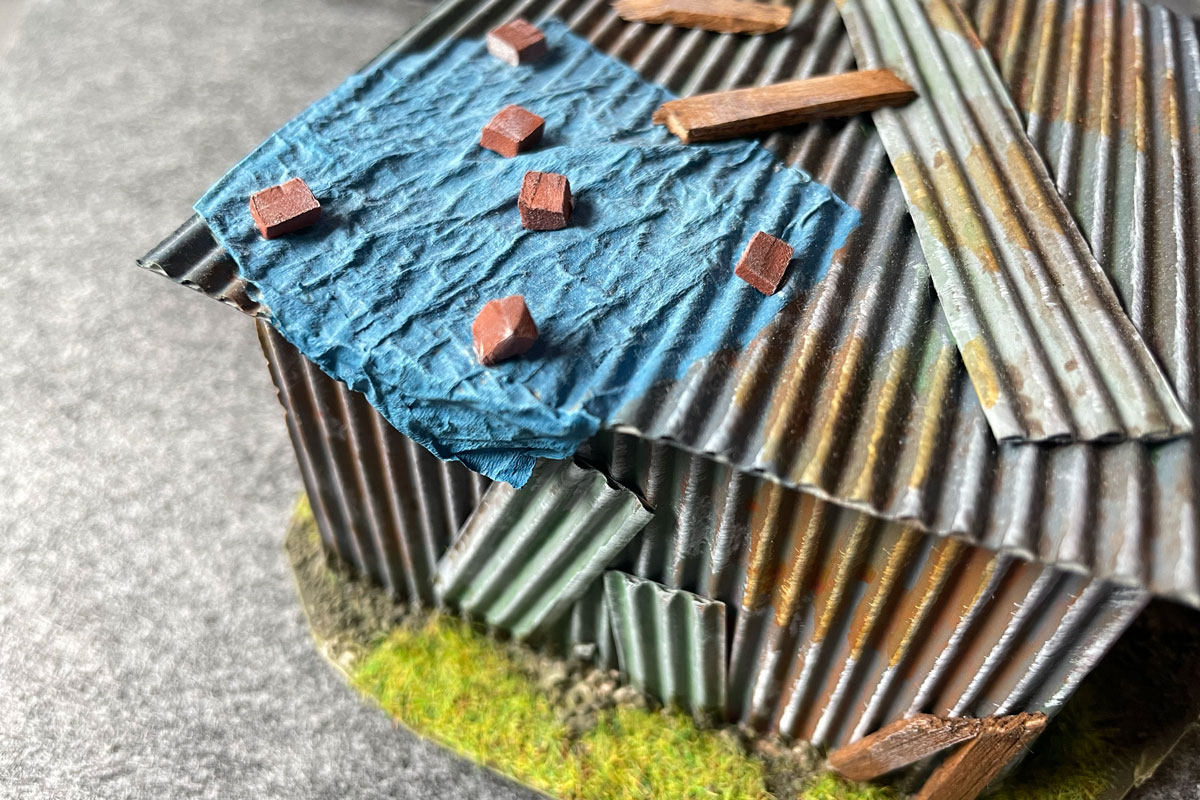
To get even more variety, you can build some tarps by yourself. These tarps can be on the roof for covering a leaky part of it or to cover some boxes. These war gaming tarps are made really easy, so just start with it.

What you’ll need
First, you need a tarp. The best and cheapest way is to go with tissues. Usually, tissues have a texture on the edges and are plain in the middle. You can use this to get even more variety in your looks.
You also need some glue. The best way to go is with diluted PVA glue. Using superglue is possible and will bring even more speed in your build. But diluted PVA glue is less difficult to work with.
How to install your realistic tarp
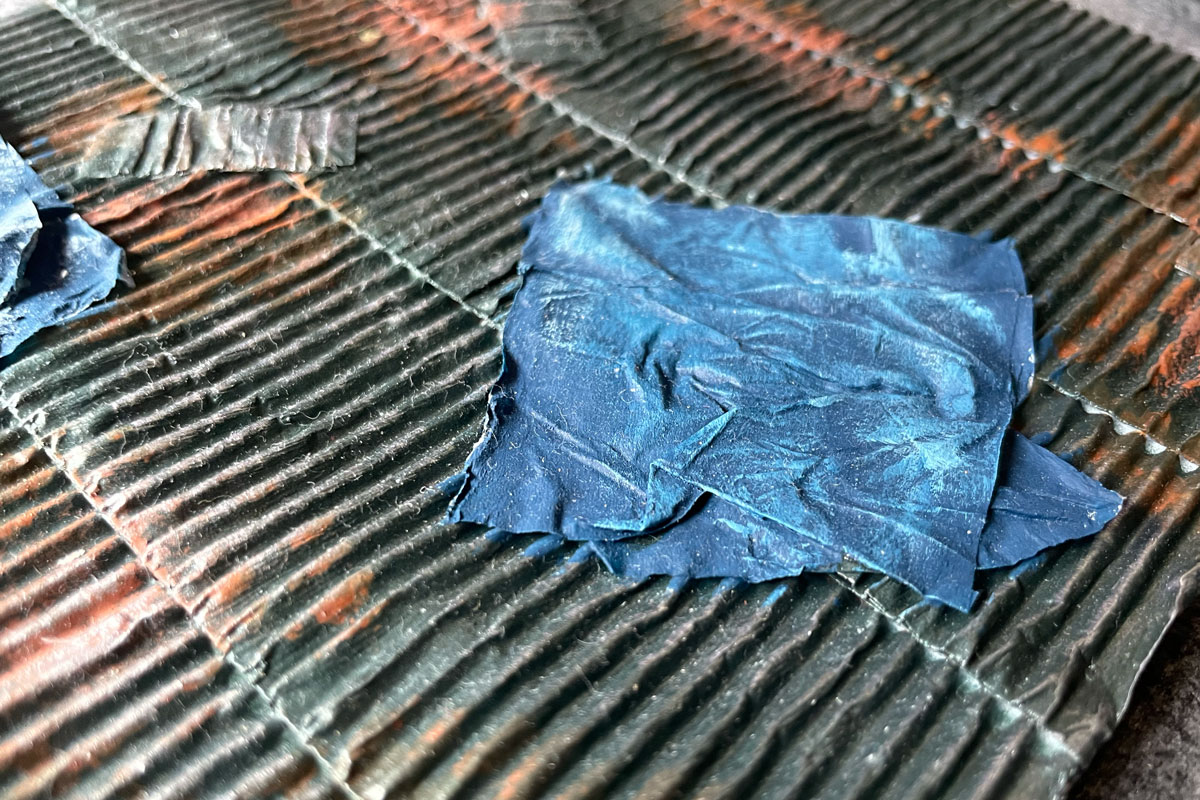
If you found your place where the tarp should be, you can separate the layers of the tissues, cut it in your desired size and stick it on with diluted PVA glue. After the first layer is set, you can add another layer of the separated tissue and push it on the first one. Afterwards, you take your brush with diluted PVA glue and glue it all together. Repeat this layering to get four layers of tissue. Consider getting some wrinkles on your tarp to get the most realistic look. Let it dry for a couple of hours.


How to paint your realistic tarp
After your layered tissues with wrinkles is dry, you can add the main color of your new tarp.
Most of the cheap tarps are colored in blue or green or some similar colors. Get a little bit inspired by your hardware store. Use your color of choice and paint the whole tarp.
After the main color is dry, you can add a light dry brush with white to highlight the wrinkles. Last, you can add some wash in the color of your tarp to display some wet places. For more realistic display, put some stuff like bricks or wooden slats on top to weight it down.


